


The summer is all about DIY! Don’t know what DIY is? Well, let me tell you! DIY stands for do it yourself, and it can be applied to literally anything! Yup, that means car maintenance too! So if you’re not a big fan of heading into the dealership to have other people do work on your vehicle that you are capable of doing yourself, then you’re going to love this week’s blog!
This week we are focusing on DIY car washes and detailing. Many of us probably don’t see the importance of washing our vehicle regularly because the rain does it for us, right? WRONG! That might wash away dust and debris, but it isn’t going to wash away the tough grime that has accumulated on your vehicle. Plus, the longer that grim stays on your vehicle and tires the more damage it could do. So that means it’s time to roll up your sleeves and grab your products because we’re about to throw some straight up facts at you!
If you’re not a DIY individual that’s okay too! All you have to do to get your vehicle back into tip-top shape and looking as good as it feels is schedule a service appointment with us and head on into Loughead Nissan today!
Part 1: Wash Your Vehicle
- Washing your vehicle regularly keeps dirt, debris, and gritty residue that can accumulate over time, off your exterior.
- Start washing your vehicle from the top (the roof) down. Use a soft-bristled brush, in small, circular motions, to remove more stubborn stains and grease. Use a microfiber cloth to clean less dirty areas.
- DO NOT USE REGULAR DISH SOAP.
- These substances are designed to remove grease and oil, and they can damage your car’s finish, not to mention strip away the vehicle’s protective wax coating.
- It is important to rinse your vehicle as you go to prevent the soap and water from drying on your vehicle.
- Try not to take too long while washing your car so that the water does not dry, leaving behind mineral deposits in the form of water spots.
Part 2: Drying Your Car
- Dry your vehicle by hand. Start drying as soon as your done with the basic wash. This keeps water from drying and leaving spots.
- Use a microfiber towel to absorb the water.
- DO NOT DRAG THE TOWEL ACROSS THE CAR.
- Debris and dirt can be trapped under the towel and potentially scratch the paint.
- Drying your car to remove the majority of the moisture, allow it to air dry completely before proceeding to the detailing phase.
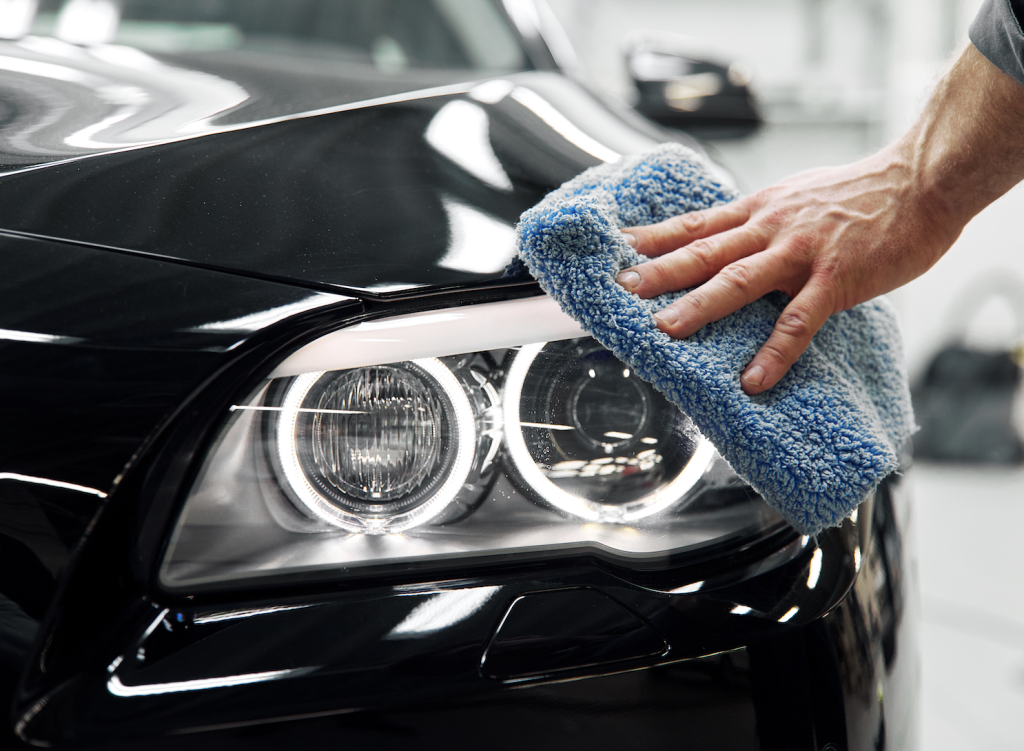
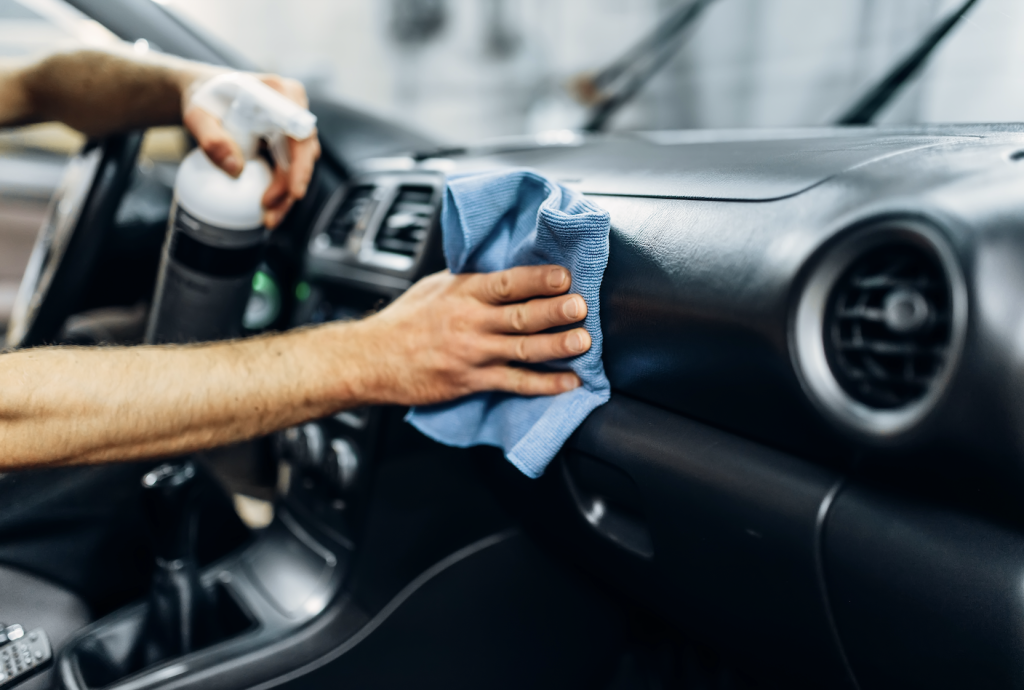
Part 3: Detail Your Car
- Most often, basic washing does not remove smaller particles and substances that might stick to or are worked into the paint job itself.
- Items you may need include Compound, Clay bars, Glaze, and Polish.
- Before using any detailing method, make sure you understand how to use it properly.
- USE A MICROFIBER MITT OR TOWEL.
- Don’t forget to clean and shine your tires, which are one of the most overlooked areas of a vehicle. When doing so, clean, wash, and polish one tire at a time to prevent the cleaner from drying on the tires in patches.
Step 4: Wax Your Car
- After washing, drying, and detailing the outside of your vehicle, seal it with wax. You only need to wax your car about every three months, so this process is not required every time you wash your car.
- When using a buffer, be careful because overuse could lead to paint removal
- Apply wax – using a microfiber towel, or a clean buffing pad using the car buffer
- Allow the wax to set – Proceed with applying the wax a section at a time, allowing the wax to set before removal. Check the wax container for directions on use and recommended wax set times.
- Buff the wax in – Take a microfiber cloth and use circular motions with the buffer to rub in the wax. Repeat this process until you have waxed the entire surface of the vehicle
Connect with us


Recent Blog Entries
- Explore Loughead Nissan’s Monthly Offers on Popular 2026 Nissan Models
- The 2026 Nissan LEAF and Sentra Are Already Turning Heads, and They Haven’t Even Hit the Awards Stage Yet
- Drive More for Less With Loughead Nissan’s Monthly Offers
- Not All Ears Hear the Same. Now Your Nissan Knows That.
- Loughead Nissan Monthly Offers: Exceptional Savings on New Nissan Models